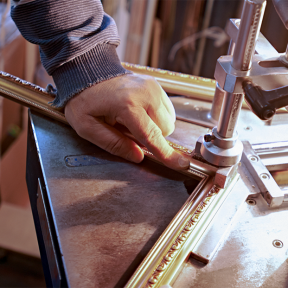

Stretcher bars come in a variety of lengths to allow for different sized canvases. Learn how to stretch a canvas with stretcher bars.
Step 1
Stretcher bars come in a variety of lengths to allow for different sizes of canvases. See the accompanying article: When Does it Make Sense to Stretch Your Own Canvas?

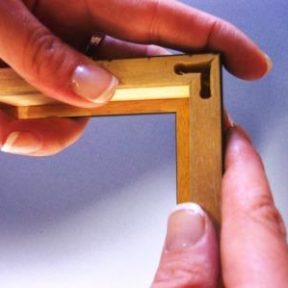
Step 2
To make a frame for stretching, fit the slot and tenon against each other and push them together to form a corner. Repeat for each corner until the frame is assembled.

Step 3
Lay the stretcher frame on the canvas and use scissors to cut the canvas so it is large enough to fold over the frame. Apply three staples in the middle of one of the longest sides.

Step 4
Using stretching pliers, apply three staples on the side opposite the first. Again, apply them in the middle, close together.

Step 5
On a third side apply only one or two staples.

Step 6
Repeat for the remaining side. Initial application will find three staples in the middle of the long sides, two in the middle of the short sides.

Step 7
On a long side, apply a row of staples from the middle to the corner. Next, turn to the diagonally opposite side and work to the opposite corner. Repeat for the remaining two sides.

Step 8
Returning to the first long side, apply the remaining staples from the middle to the corner. Repeat for the remaining sides in the same sequence. Fold the corners.

Step 9
Make two folds in the canvas at each corner, pull one fold over the other, and staple the canvas to the frame.

Step 10
Make the remaining fold parallel to the edge of the stretcher and staple.

Step 11
The staples are placed close together. On larger frames a cross bar is sometimes placed in the middle to provide extra support.

Step 12
Insert the tensioning wedges after the canvas is stretched. The tensioning wedges are wooden triangles. Wedge two into the slots in each corner.

Step 13
You may want to use a mallet to tap the keys in. The insertion of the tensioning wedges will cause the wood to expand, pulling the canvas taut.

Step 14
Wet the canvas and allow it to dry. This helps to decrimp and straighten out the canvas as it pulls it even tighter.

Step 15
Your stretched canvas is ready for the application of paint or prime.