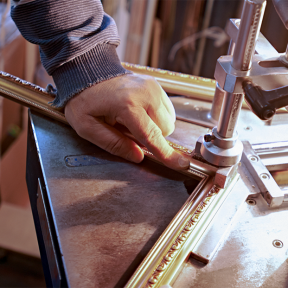

Wondering how to assemble the Logan Saw Fence Extension? Our step-by-step photo guide makes the process easy.
Step 1
Start by inserting the connectors into the underside of the fence. Then connect the other half of the fence to the connectors.

Step 2
Tighten screws using the allen wrench provided.

Step 3
With tab facing toward the angled bend of the support leg as shown.

Step 4
Slide one of the support legs on each side about a third of the way down the fence.

Step 5
Tighten the support legs down but not too tight as you may have to adjust them later.

Step 6
With the support legs in place now it’s time to level the extension to the bed of the saw.

Step 7
Place extension next to the bed of the saw.

Step 8
Place support levelers under the fence so that the fence is leveled with the saw.

Step 9
Be sure that the fence is in place and that it is sitting even on the levelers.

Step 10
Now tighten the screws on the support legs making sure they are flat and even with the surface you are mounting to.

Step 11
Now your saw and fence are ready to be mounted to your table/bench.
For more on assembling the saw fence, see the video on the Logan Saw Fence.